In this tutorial i will show you how to create vector 3d new year digits 2011. After this tutorial you should be able to create any kind of 3d numbers or text. You will also learn how to create correct reflection for your 3d element. I created this illustration in adobe illustrator cs3 and you should be able to make the same vector in any version of illustrator that has 3d function- Extrude & Bevel.

1. Create object using type tool
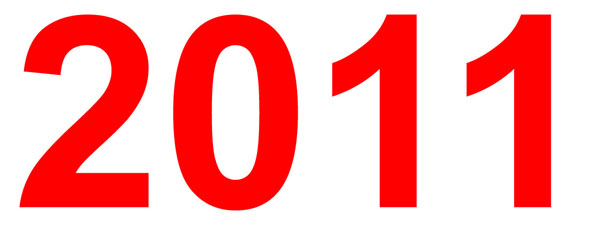
First open new document and type 2011 using type tool. Use some bold font like arial bold or helvetica heavy. Now convert text to curves by doing this: select your object and go to Object/Expand and in the new window hit ok.
1. Pic
2. Make the reflection
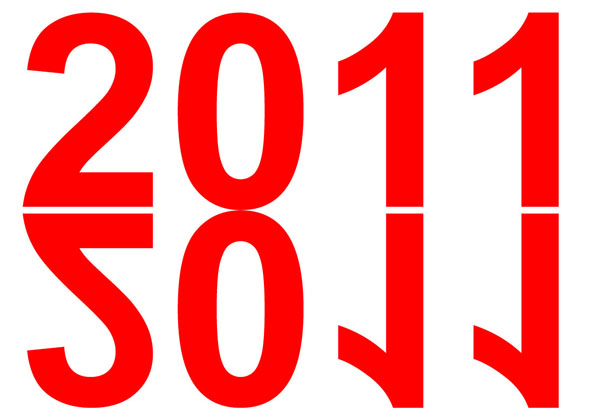
Now create a new copy of the object on top of old. Select your digits and press ctrl+c and then ctrl+f. You have now a copy of an object on top. Select that copy using selection tool (only the top obect, leave the old not selected) go to Object/Transform/Reflect. In the reflect options window select Horizontal Axis and click ok. You now have a reversed copy of first object. Move it to the bottom so it look like in the 2 picture.
2. Pic
3. Convert to 3d
Now select both obects (the first digits and the reflection) and group them so that when you use 3d option it would apply for both objects the same. If grouped, with the obects selected go to Effect/3D/Extrude & Bevel. In the 3d options window select the perspective number bigger than 0 (make it look more realistic) and for the surface select “No Shading”. You do this because later you create all shades manualy. Illustrators built in 3d shading function is a bit messed up, it creates a lot of unclosed paths. It may look good, but when you want to change colors and start ungroup everything you will see how it messy is, believe me.
3. Pic
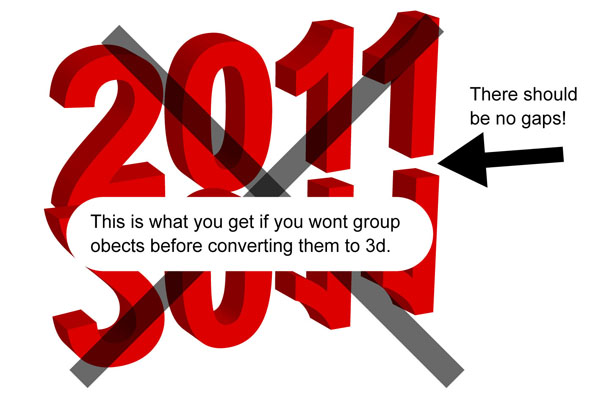
4. Pic
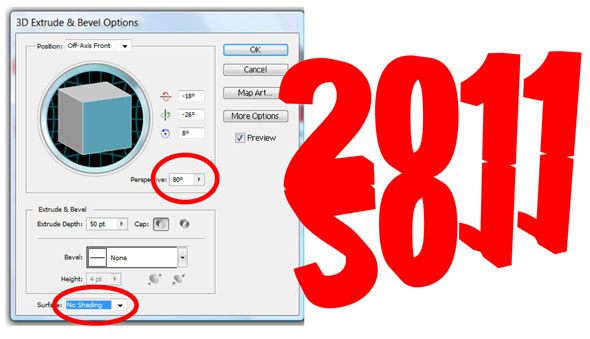
4. Ungroup, expand to curves and simplify object
You should now see something like in the picture bellow. First convert illustrators 3d bla bla object to curves by going to: Obect/ Expand Appearance. Now you will have to add shading but to do this first you have to ungroup everything. Select whole object with reflection and press right mouse button and choose ungroup. Do this until you have ungrouped everything.
5. Pic
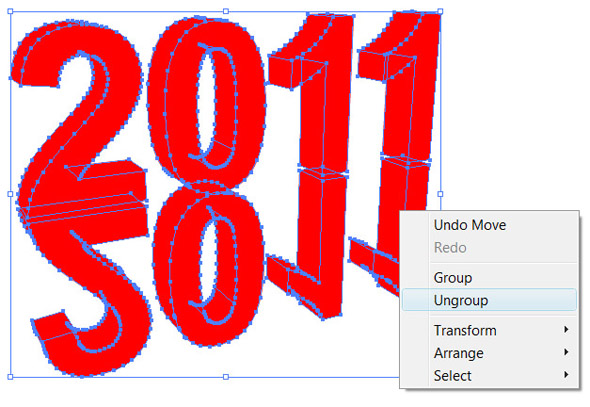
5. Add shades
If you ungrouped everything you will have a numbers that are made from separate vector shapes. For now just leave front shapes of the numbers as it is. Select only those shapes that have to be darker because later you will need to add some gradients to it. It will be easer to separate which shape need to be darker and which lighter. Select any color that you want for now for these darker shades. Your result should be similar to pic 7 example.
6. Pic
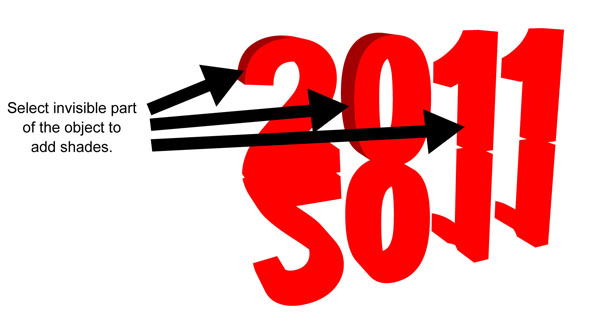
7. Pic

6. Add gradients
Now start adding gradients. I have choosen simple gradients (max. 3 points). First digits (20) has from dark gray to light gray and when back to dark gray gratient. The next digits (11) has dark red, light pure rgb red and then again dark red gradient. Reflection has only two point gradients: from dark gray to pure white. When adding gradients to you vector art dont rush, choose colors carefuly. Best things need time. The more time you spend on your artwork the more satisfaction will come later from this work. Work until you get something similar like in the picture bellow, or try to get even better result.
8. Pic
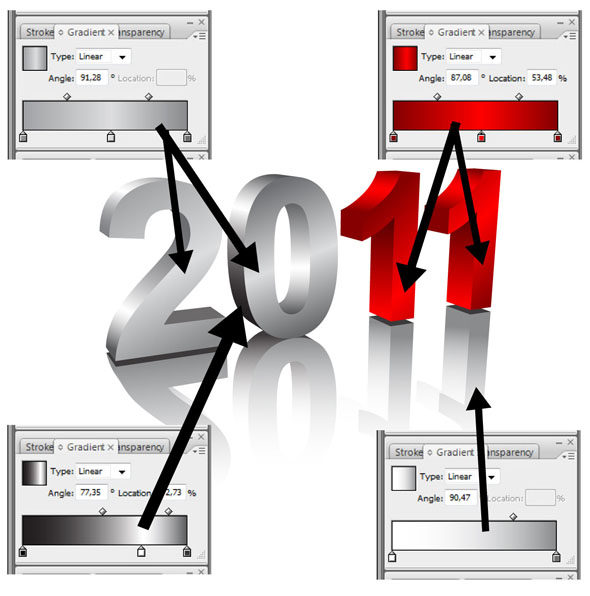
7. Final touch
If you like you can add this little final touch to your object. Using pen or ellipse tool draw an object that covers half of the front digits. Then select all front letters (not all 3d element), hold ctrl and press c to copy and f to paste in the front. Group these new copies of front letters and select that new element that covers the letters (make sure digits and new element are both selected). Then in the pathfinder window (window/ pathfinder) select intersect shape areas.
9. Pic
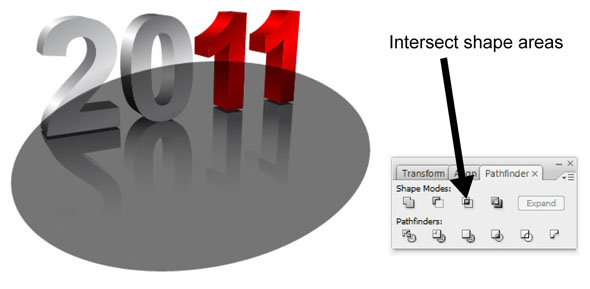
Thats it.


